Creating Approvals
Our approval feature will help you and your team monitor the content before publishing them. Make sure to get your team ready before you start. Learn more about Team in here.
Activate approval request
Section titled “Activate approval request”To activate the approval request, locate and click the “Approval” icon when you’re creating content
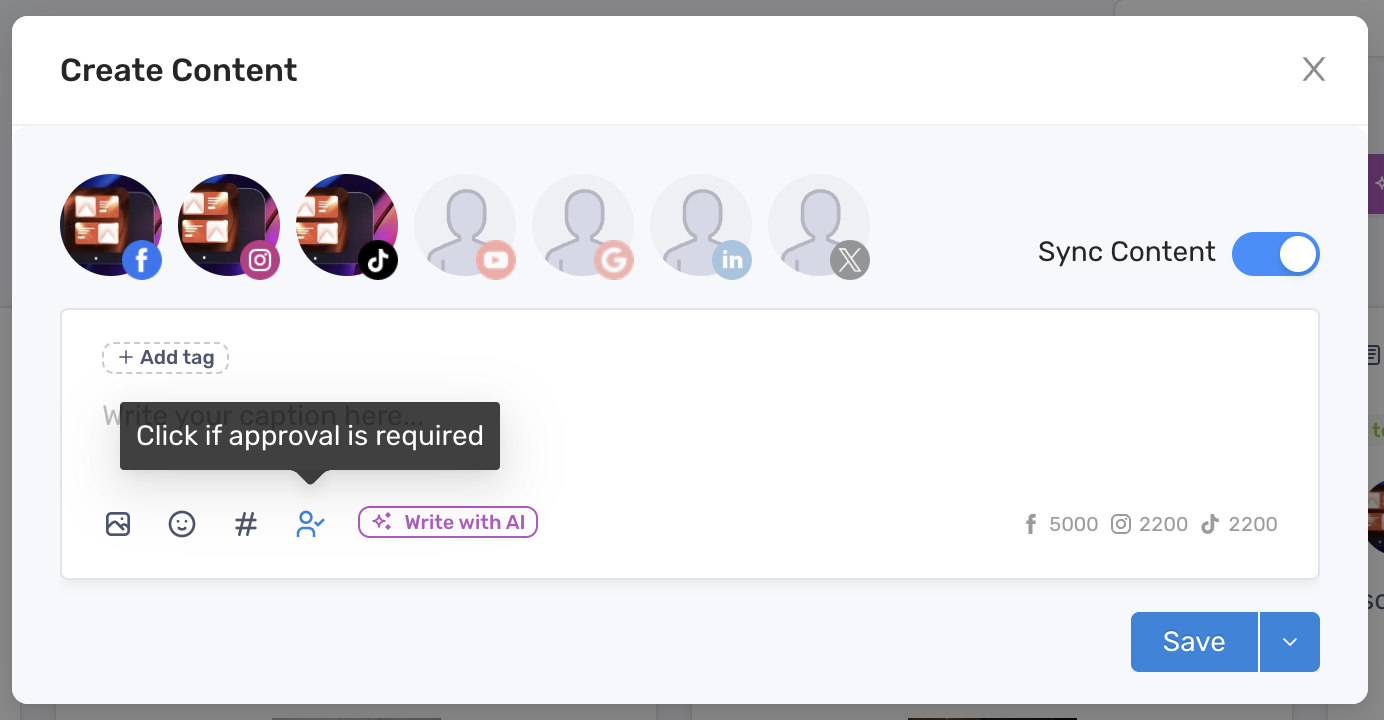
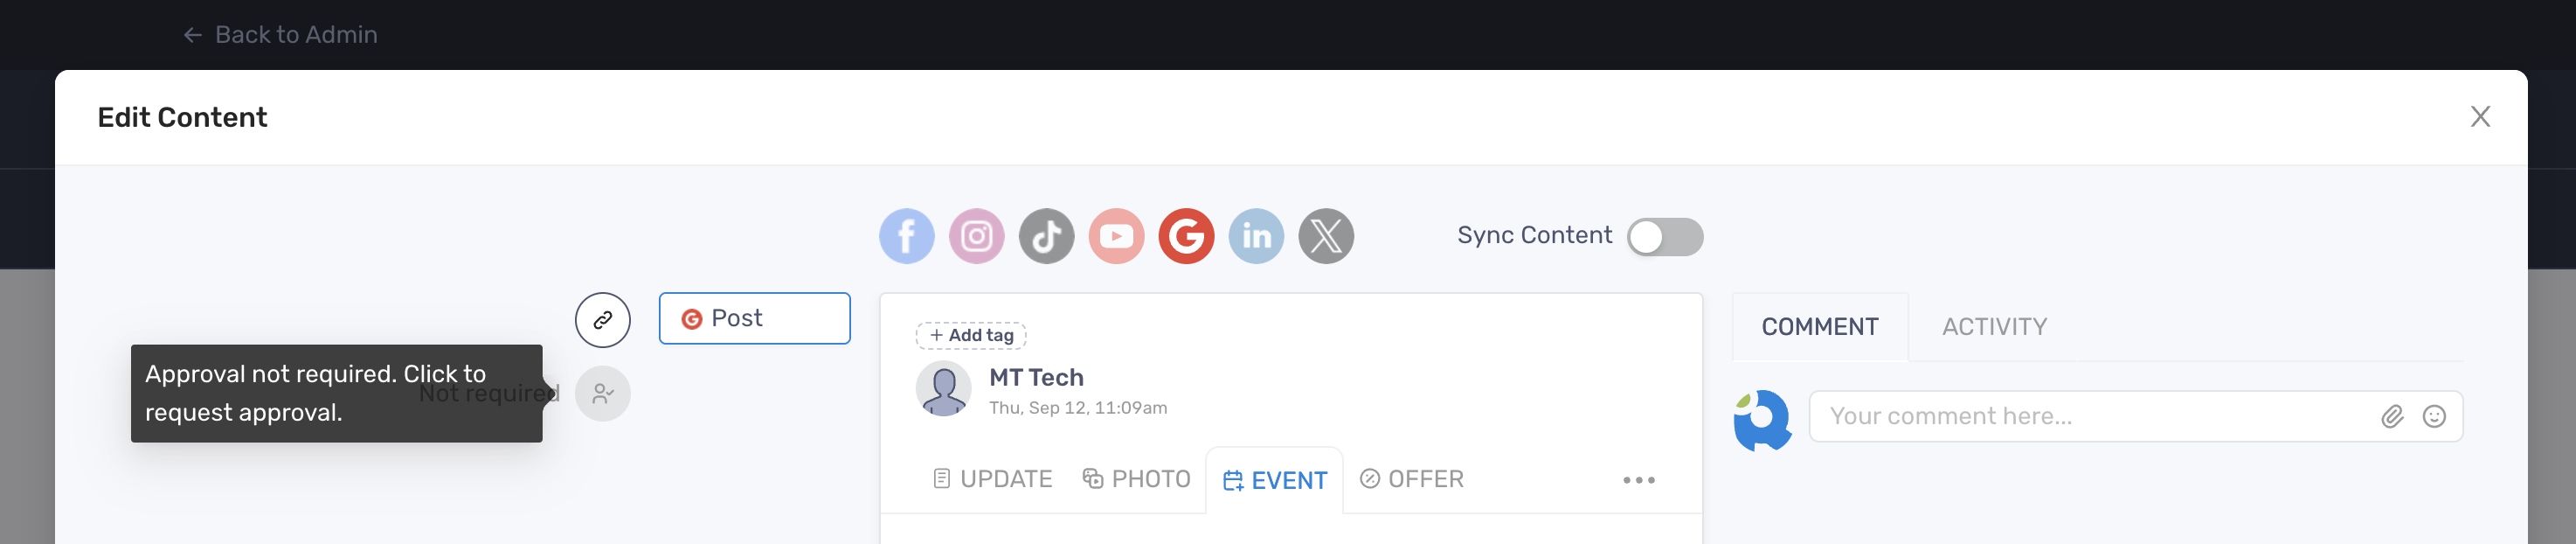
Or you can click it on the left side when you edit a content
Right after the approval request is activated, an email will be sent to you and your team members who have Approve Only permissions. Learn more about Approve Only permissions.
Create bulk approval
Section titled “Create bulk approval”- Go to Social > Approvals
- Click “Create Approval”
- Select the posts you want to request approval
- Set the Due Date by when the approval request expires
- Click “Create Approval” to finish
After the approval is created, status of all the selected posts will be marked as Pending
Once the approval is required, an email notification will be sent to the your email and the team member with Approve Only permissions.
If the Due Date is set, reminder emails will be be sent to your email and the team member with Approval Only permissions 2 days before the due date.
View the posts that are pending for approval
Section titled “View the posts that are pending for approval”There are 2 ways you can find and view posts that are pending for approval:
- Via Social > Content or Calendar, navigate the Filter dropdown field and select Approval Status = Pending. Click Apply.
- Via Social > Approvals, navigate to the approval you want to view and click View