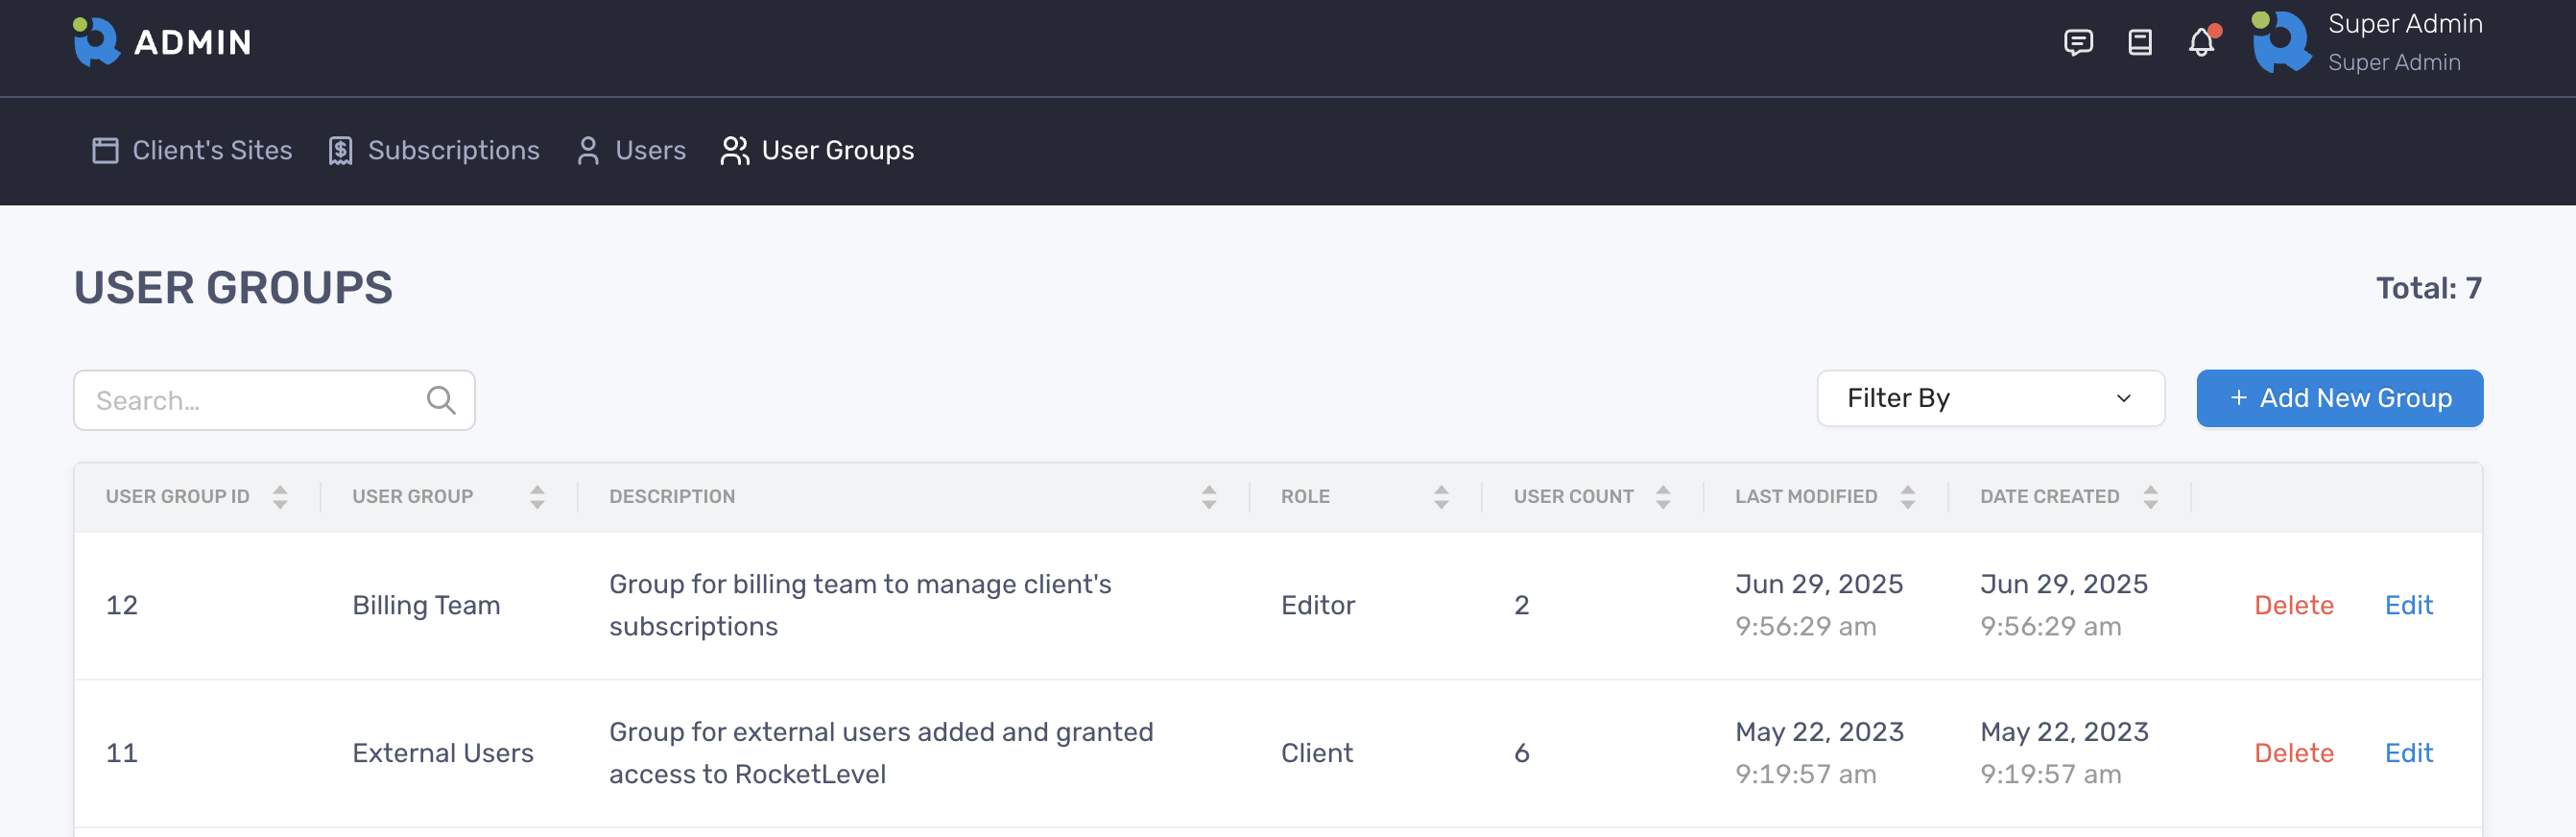
Managing User Groups
Access User Group
Section titled “Access User Group”You can locate the User Group on the top menu
Create a user group
Section titled “Create a user group”- On the User Groups page, click the “Add New Group” on the right
- Enter values in required fields and click “Add User Group”
- Once successfully created, the new user group is shown in the table
Edit a user group
Section titled “Edit a user group”- On the User Groups page, locate the user group that you want to edit and click the “Edit” button at the end of the row.
- A panel slides in from the edge with all the details about that user group
- Update the values of the fields on the panel
- Click “Save Changes” to finish
Delete a user group
Section titled “Delete a user group”- On the User Groups page, locate the user group you want to delete and click “Delete”
- A dialogue will pop up and ask for your confirmation
- Click “Delete” and the user group is successfully deleted
By deleting a user group, the associated users will be unassigned and remain intact.