Managing Client's Sites
Access Client’s Sites
Section titled “Access Client’s Sites”You can locate the Client’s Sites on the top menu and it’s also the first thing you see when you log in Admin portal.
Create a client’s site
Section titled “Create a client’s site”- On the Client’s Sites page, click the “Add New Site” on the right
- Enter values in required fields and click “Add Site”
- Once successfully created, the new site is shown in the table
- A welcome email is sent to the registered email with temporary login credentials
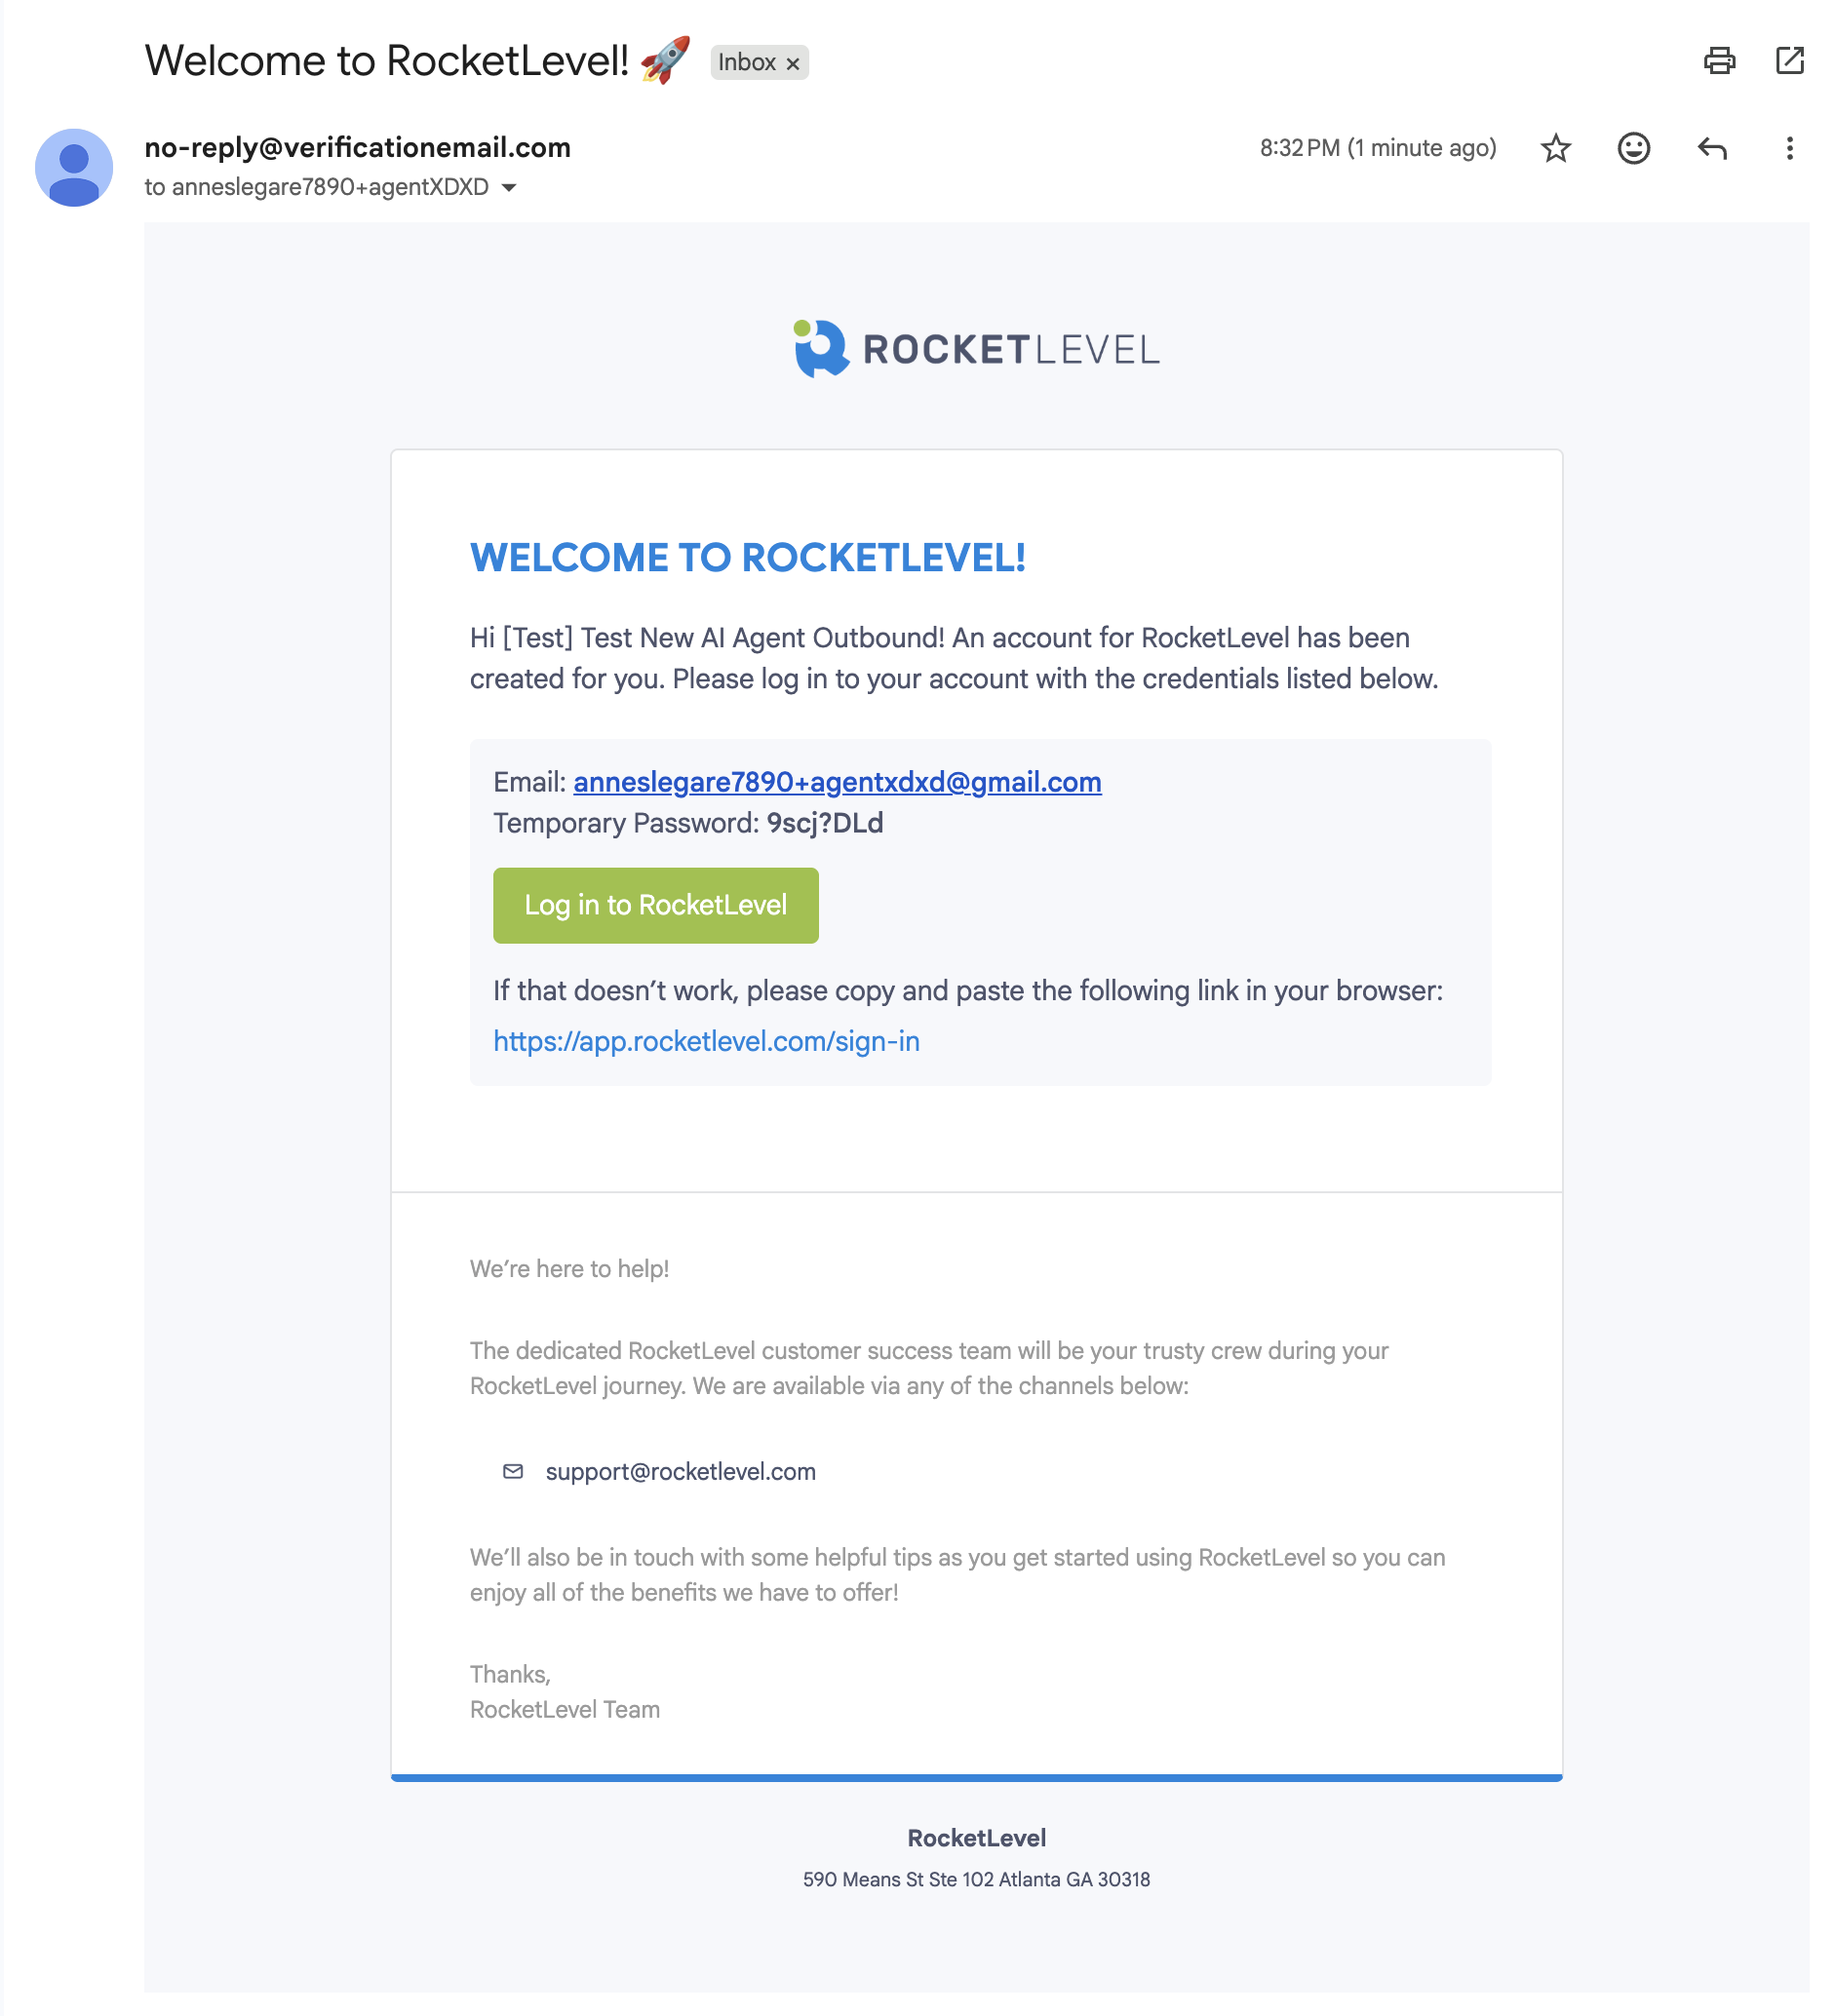
- The client must log in and change the temporary password as instructed
- After the password is successfully updated, the site is now ready to use
Once the sit is created, a user is also created and added the user group Client automatically.
Edit a client’s site
Section titled “Edit a client’s site”- On the Client’s Sites page, locate the site that you want to edit and click the “Edit” button at the end of the row
- A panel slides in from the edge with all the details about that client’s site.
- Overview tab
- Integrations tab
- Services tab
- Update client’s info in the Overview tab.
- Click “Save Changes” to finish
Learn more about Integrations in here and Services in here.
Bulk move client’s sites to a user group
Section titled “Bulk move client’s sites to a user group”- On the Client’s Sites page, click “Bulk Action” on the left and select Move client’s sites to another group
- Select the sites that you want to move
- Click “Move [number] client’s sites”
- A dialogue will pop up and from there, select the new user group for the selected sites
- Click “Move” to finish
Delete a client’s site
Section titled “Delete a client’s site”- On the Client’s Sites page, locate the site you want to delete and click “Delete”
- A dialogue will pop up and ask for your confirmation
- Click “Delete” and the site is successfully deleted
By deleting a client’s site, the associated user group will be unassigned and remain intact. To have a clean removal, you should also delete the associated user.
Bulk delete client’s sites
Section titled “Bulk delete client’s sites”- On the Client’s Sites page, click “Bulk Action” on the left and select Delete client’s sites
- Select the sites that you want to move
- Click “Delete [number] client’s sites”
- A dialogue will pop up to confirm the action
- Click “Delete” to finish